You may have heard of Gutenberg if you are a WordPress user. After all it has been a heated topic for over a year now, with the WordPress 5.0 release getting closer and closer it is time to really get to grips with the new WordPress editor.
In this short guide I will cover the very basics of Gutenberg and hopefully help ease the transition from the classic editor to the new Gutenberg editor.
- Gutenberg Editor Overview
- Using Blocks
- Creating Layouts
- Block Settings
- Categories, Tags & Feature Images
- Gutenberg Tools
- Gutenberg Settings
- Advanced features
- Common Questions
A basic overview of Gutenberg
Gutenberg is a completely new editor made for WordPress, is currently available as a plugin. Think if Gutenberg as a page builder compared to the classic editor. Gutenberg is focused on making rich layouts by using an array of blocks. Blocks are the core of Gutenberg and once you get your head around them it makes a lot of sense.

Everything from a new paragraph to column layouts are added using blocks. That doesn’t mean you have to click add block each time you add a new paragraph, Gutenberg will automatically default to paragraph blocks so when you hit enter while typing a new paragraph block will be inserted. Likewise when pasting content from Google docs or Word the content will automatically be allocated blocks from each paragraph and heading.
Using Gutenberg Blocks
Blocks are actually pretty easy to use but do take a bit of getting used to. For me aligning images isn’t as intuitive as before but once you get the hang of things you will be pleasantly surprised with Gutenberg and welcome to the builder.
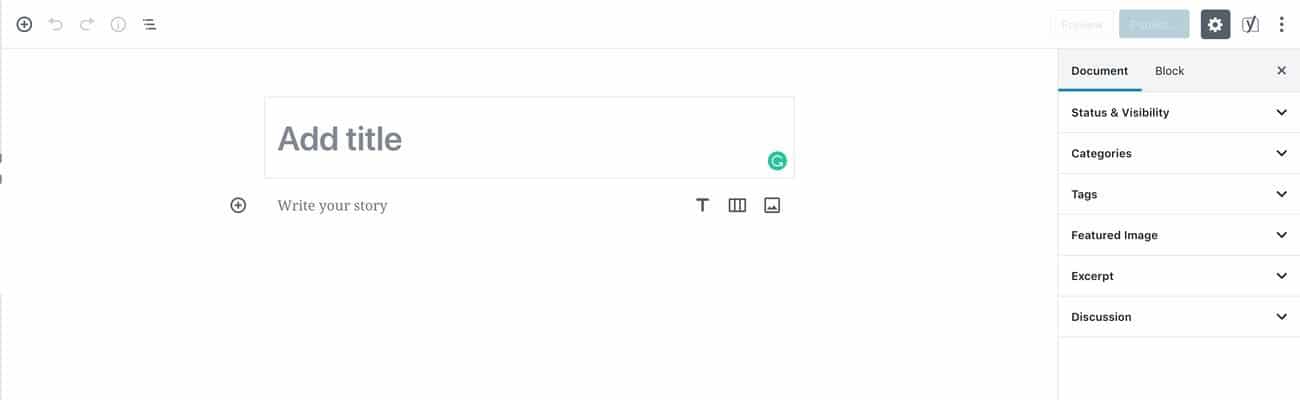
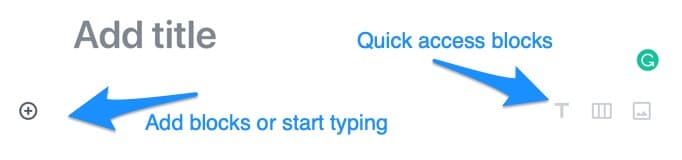
Gutenberg will automatically present you with a blank canvas. You can enter a title for your post and then hit enter to immediately start typing. Or you can click the ‘Add Block’ icon to add a different content block such as an image first. You will also notice some quick access blocks. The quick access blocks consist of your most frequently used blocks.
Every time you hit enter a new paragraph block will be inserted if you start typing. Or you will be presented with the option to add a different block or click a quick insert icon.
Layouts as blocks
Layouts can be created using blocks, this gives you the ability to add columns and more. Layouts will be limited by your theme, as Gutenberg progresses we should see much better integration from theme developers. At the moment we recommend you stick to 2 columns unless you know your theme supports more.
You can create really rich layouts if your theme offers more support for Gutenberg. Take the Uncode theme for example, by taking advantage of page options on your post to remove the sidebar, this will allows you to use the fullwidth Gutenberg settings and add more columns and layout elements. With a sidebar, the full-width settings tend to break the layout and overlay the sidebar.

Block settings
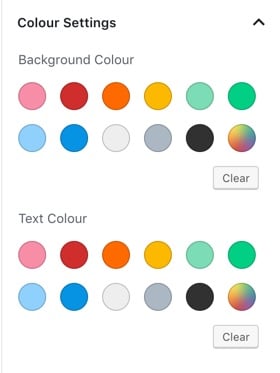
Most blocks have some additional settings or at least the ability to add a class to the block. Standard paragraph blocks give you some great settings to changes font-sizes, colours and even add a drop-cap to your paragraph.
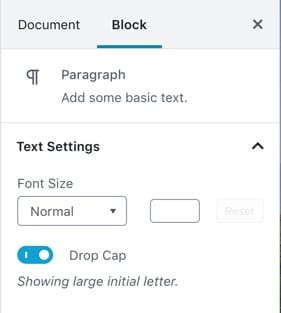
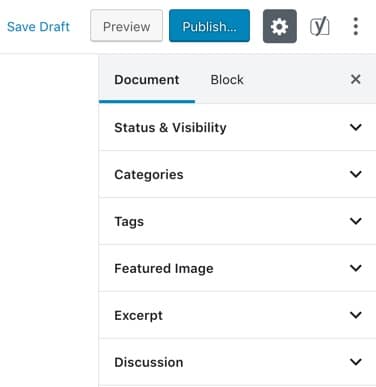
You can access the block settings by clicking the cog icon next to ‘Publish’ in the top right corner. There are two main setting tabs for Document and Block. Block settings are for the block that you have selected. If you don’t see block settings click on the block you want to edit.
The settings will vary from block to block, images have useful settings that allow you to add alt text quickly and even adjust the width of the image. Advanced settings usually give you the option to add a class to the block should you want to add CSS later and target the block specifically.
What about post categories, tags, feature images, etc?
This is a very good question as this is the biggest change when you first start using Gutenberg. Not just the WYSIWYG editor has changed the entire post edit screen is different. Don’t panic as things move forward there will be more support from 3rd part plugins and themes. For
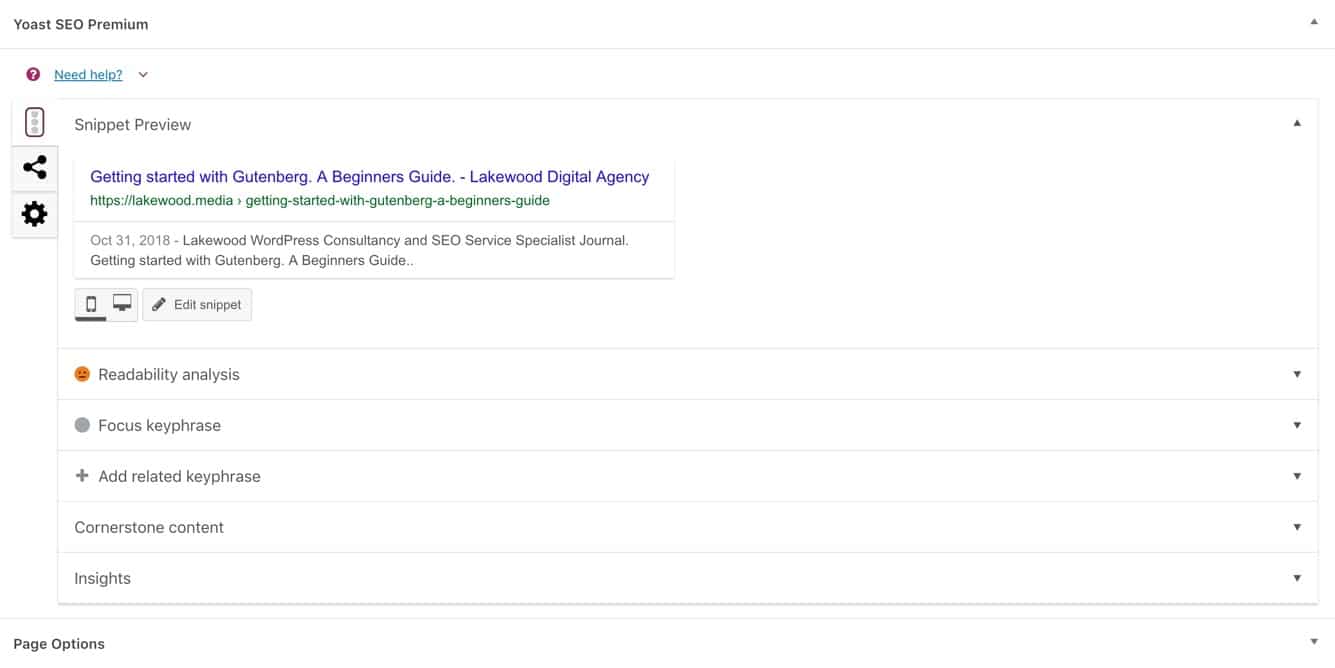
What about other things like Yoast SEO and other meta boxes?
Yoast, in particular, has already adapted to support Gutenberg as have many other SEO tools and also other plugins and themes. Other meta boxes that usually appeared below the classic editor can still be found below the main Gutenberg editor.
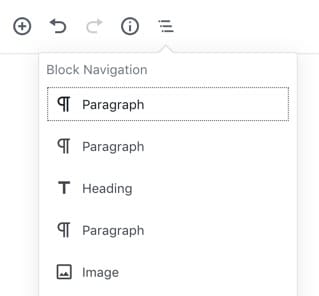
Other useful tools that come with Gutenberg
Gutenberg also has other useful features that will make creating great content easier than before. At the top of the Gutenberg
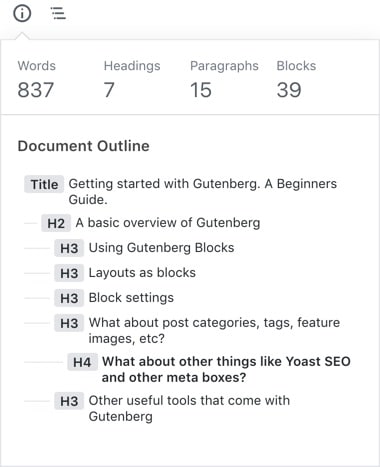
Next to the information
Gutenberg Settings
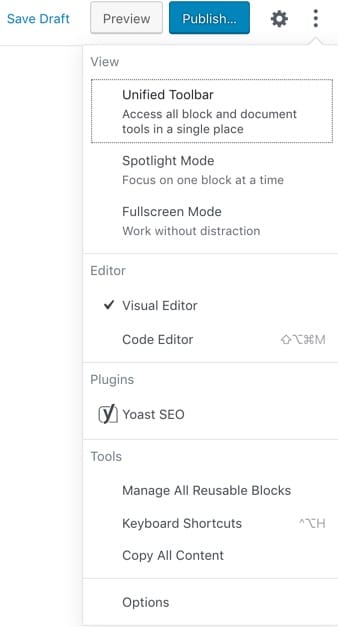
One of the great things about Gutenberg is the additional settings and ability to customise the builder to your preferences. As development progresses we imagine that there will be more settings but for now you can access the available settings by clicking the settings menu next in the top righthand corner (next to the cog icon).
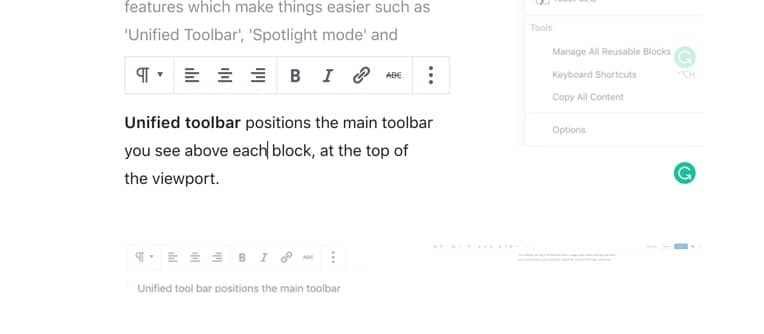
The settings menu has a few quick access features which make things easier such as ‘Unified Toolbar’, ‘Spotlight mode’ and ‘Fullscreen mode’.
Unified toolbar positions the main toolbar you see above each block, at the top of the viewport.


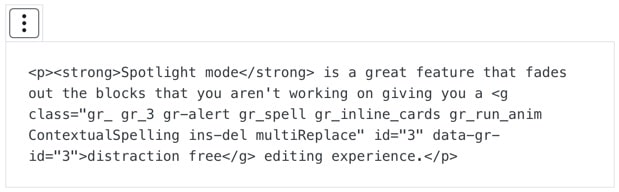
Spotlight mode is a great feature that fades out the blocks that you aren’t working on giving you a
Fullscreen mode is just that, a full-screen version of Gutenberg that hides away all the stuff that you don’t need to see when working on your content.
Getting advanced with Gutenberg
HTML Editor
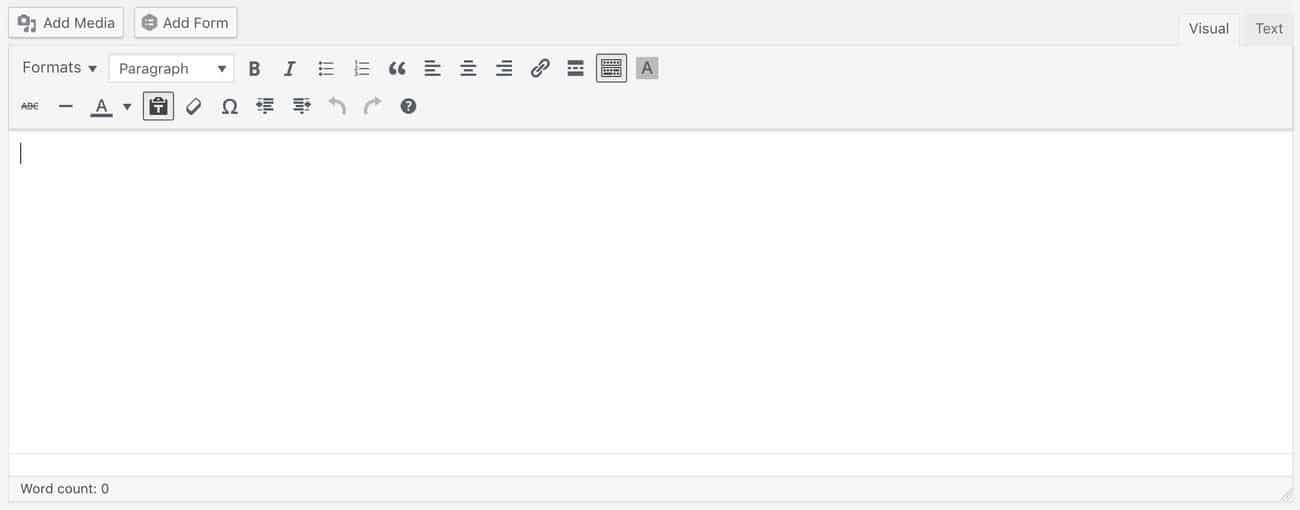
One of the things I love about Gutenberg is the code and visual editor, you can switch between the two seamlessly.
The HTML editor gives you the raw output from Gutenberg so you can make adjustments to fine-tune elements of your content if you are comfortable with HTML. I haven’t tested this in-depth so I’m unsure if you will loose formatting or classes as was the case with the classic editor.
After making changes to the HTML you can switch back to the visual editor, to see the changes you have made.
Make your own reusable block
A really handy feature of Gutenberg is the ability to create reusable blocks. For example you have a layout that you will use time and time again, rather than adjusting this each time you can just save the block.
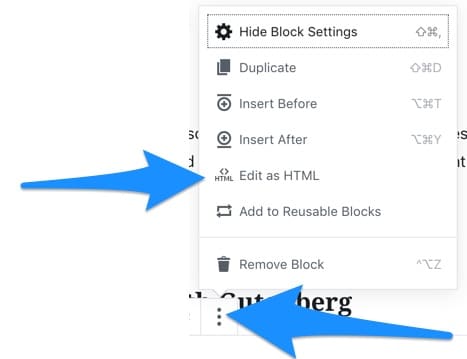
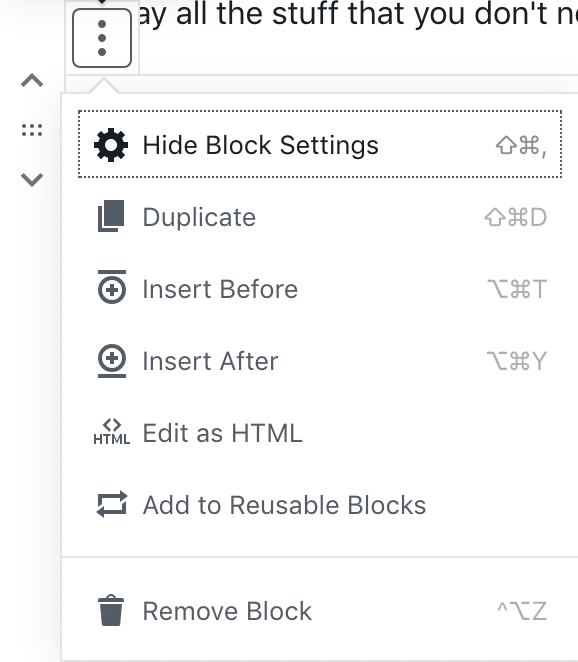
To create a reusable block simply select the block you want to save and click the settings icon on the block. Next click ‘Add to Reusable Blocks’.
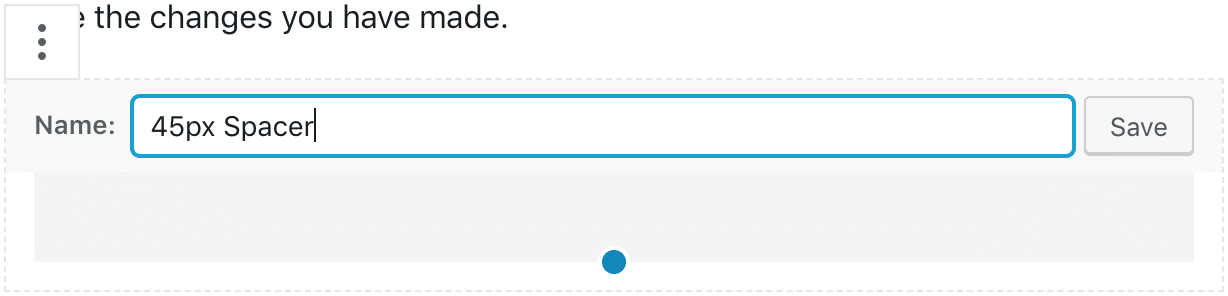
In this case I’m going to save a 45px spacer as a reusable block. I can simply give the block a name and click save.
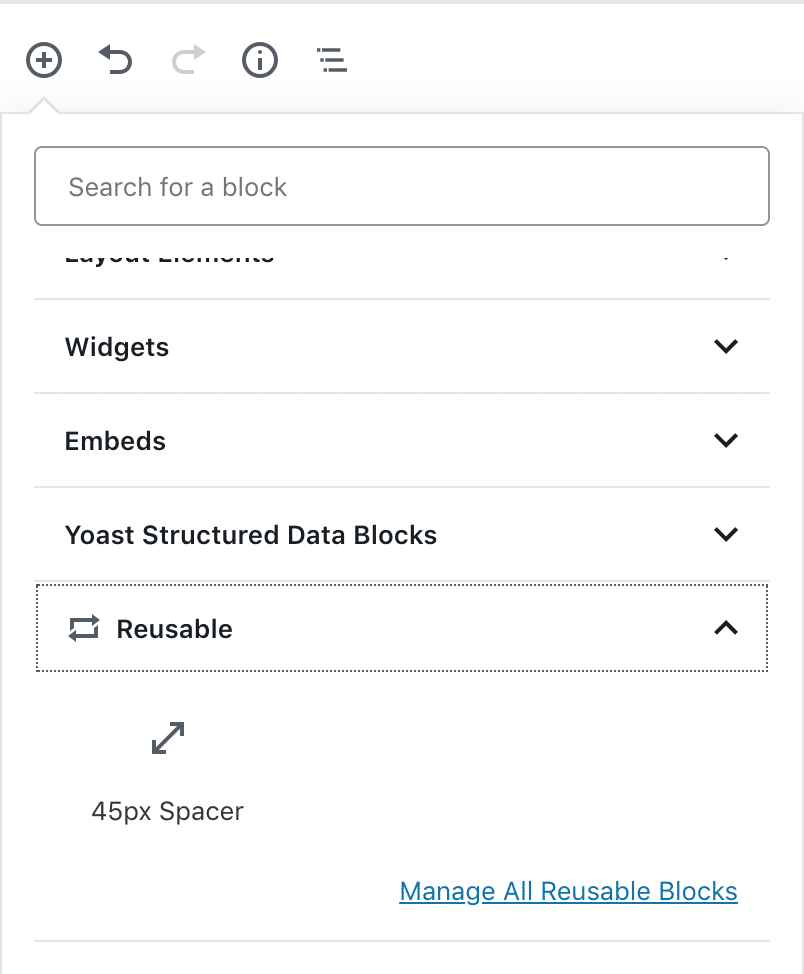
To access your reusable blocks simply click the add a block icon and scroll down to the ‘Reusable Blocks’ section, here you will see all your saved blocks. You can also click ‘Manage All Reusable Blocks’ to manage your blocks.
Common questions
How to align images with Gutenberg
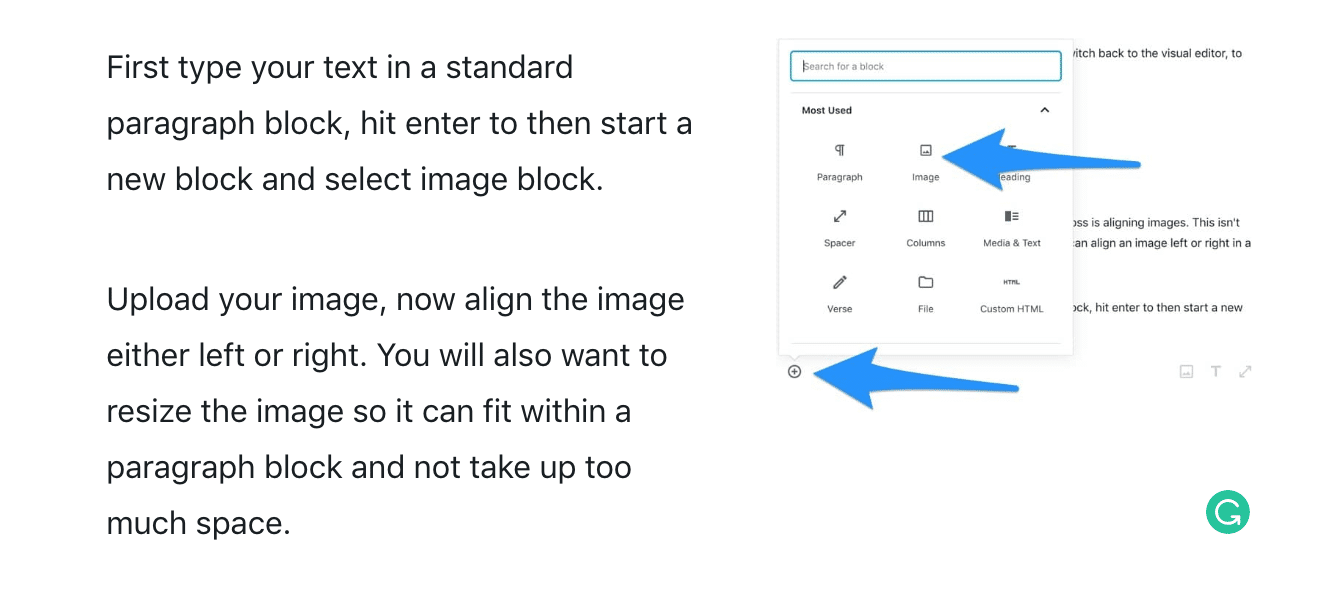
One of the most common issues we come across is aligning images. This isn’t very intuitive at all so we will explain how you can align an image left or right in a paragraph block.
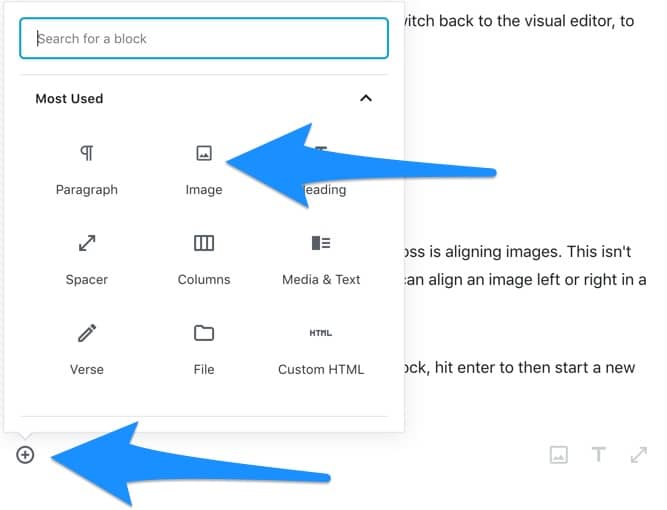
First type your text in a standard paragraph block, hit enter to then start a new block and select image block.
Upload your image, now align the image either left or right. You will also want to resize the image so it can fit within a paragraph block and not take up too much space.
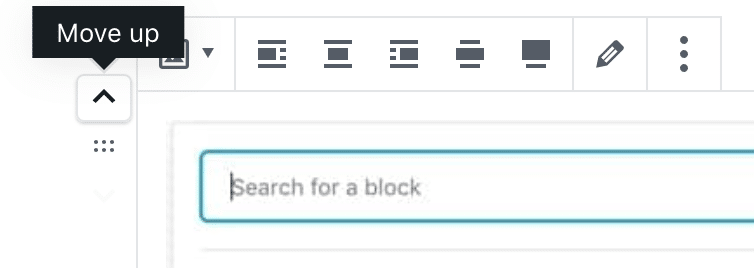
Once you have aligned the image hover over the block positioning icons and click move up. The image will then align next to the paragraph above.
If you have any questions please leave them in the comments below. Do you need support with your WordPress site? Check out our WordPress support & maintenance services.